Unlucky with corked wine

Corked Wine

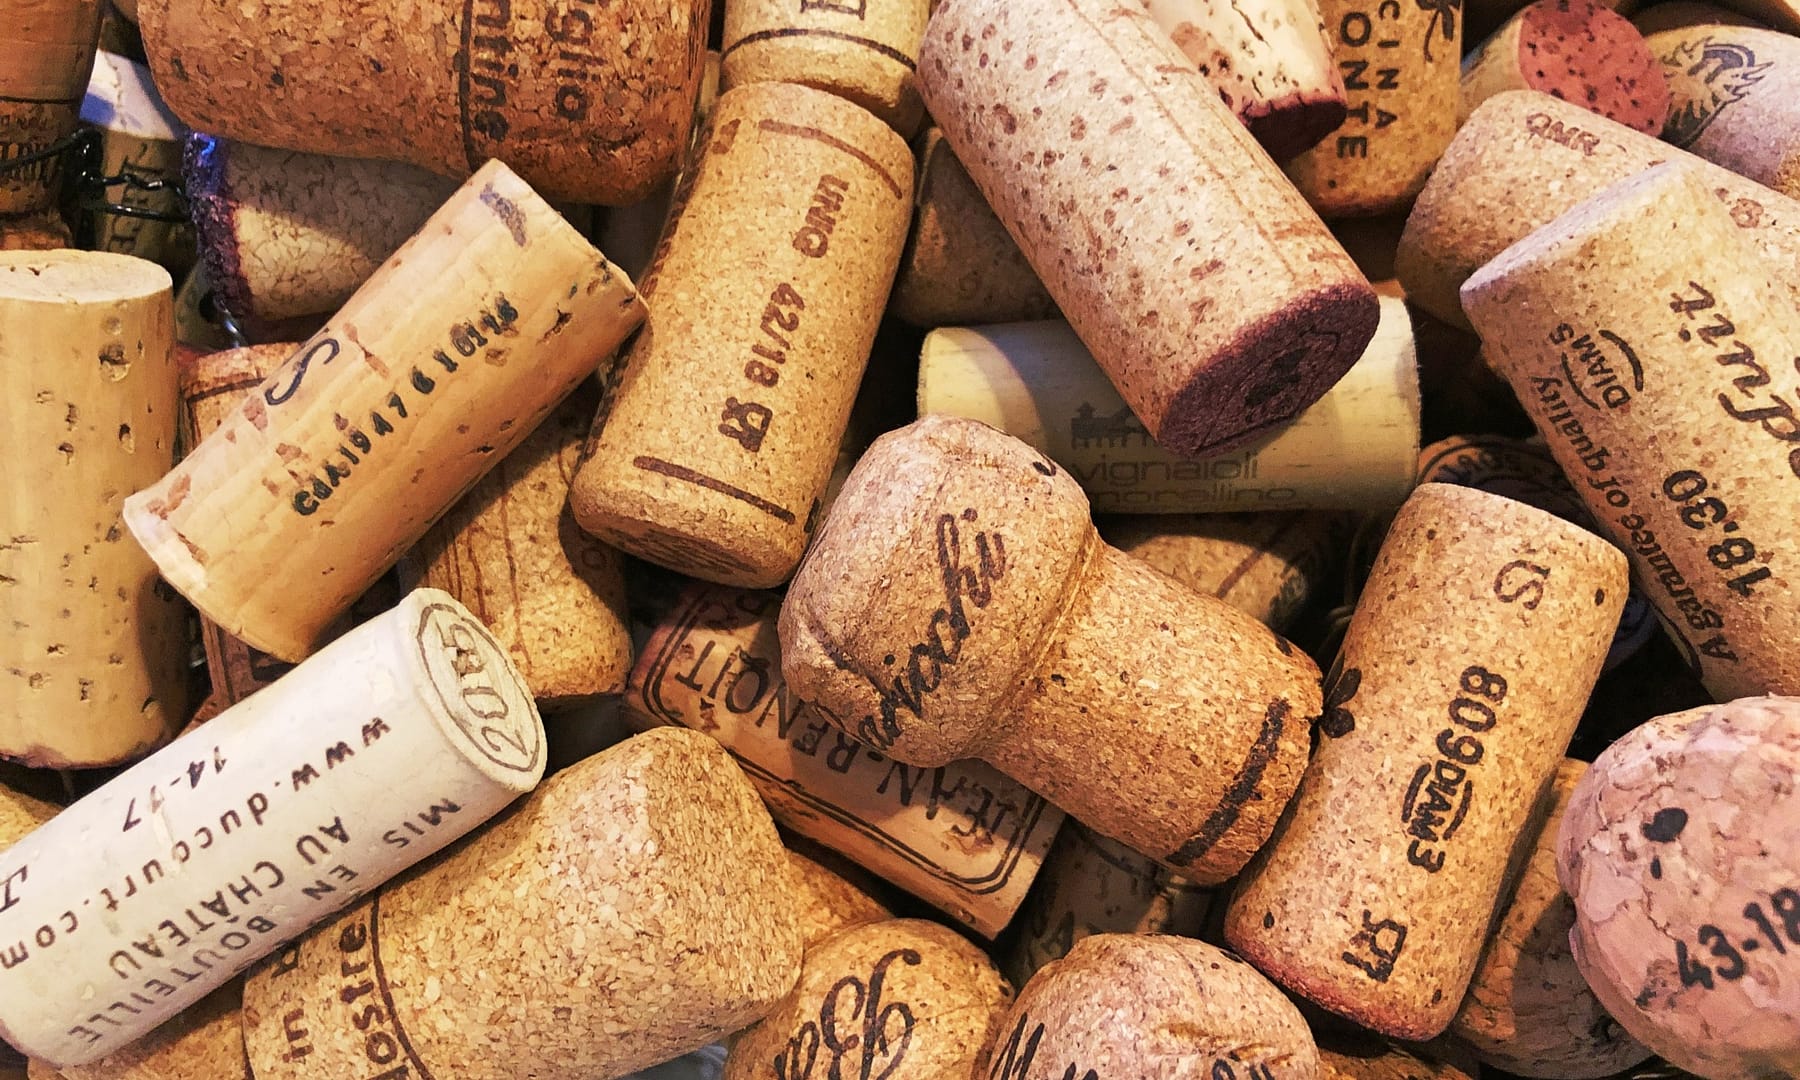
Odds were not much in my favour this past week when it comes to corked wine. Three different bottles, at three different locations, all tainted.

It had been a fair while since I have found cork taint. It can be a real turn off when it happens on that bottle and at that occasion.

What is corked wine?

It’s a wine fault that gives the wine a range of unwelcoming scents, suppressing the freshness and fruity aromas. Those only get detected later, after aging, bottling and while serving the wine. This fault occurs regardless of the quality and price level of the bottle.

A corked wine is safe to drink, though the smell can be off putting and render the whole experience not a pleasant one.

Why does wine get corked?

The main cause of cork taint is the presence of the chemical compound 2,4,6-trichloroanisole (TCA) in the wine.

That’s a powerful chemical that can impact the wine even if in really small amounts. The human nose is highly sensitive to the TCA molecule and can perceived it already at about 10 parts per trillion (ppt). That’s smaller than the volume contained in a coffee spoon poured into an full Olympic swimming pool. 

TCA is generated from a really specific interaction between cellulose, chlorine and mold. It is commonly formed in the cork and gets transferred to the wine overtime while stored. However, the taint can originate anywhere in the winery where wet surfaces (allowing mold to develop) and chlorine based cleaning products are easily found. TCA can start forming on those places and find it’s way into the wine bottle through barrels, transport systems, wine cases and others.

How often does it happen?

Not that often. The numbers used to be higher in the past, reaching around 9% in 2007, based on a research done in Napa Valley. The wine industry, however, estimates that the rate of corked wines is around 2% nowadays. That 2% can become irrelevant, though, if taint comes to happen exactly on your special bottle.

The reduction in the incidence of TCA in wines is due to new practices being adopted by cork producers and wine makers. Those include:

  • change in the chemicals used to treat the cork
  • adoption of synthetic corks and screw caps
  • reduction in the use of chlorine in the facilities

How to recognize if the wine is corked?

The descriptors mostly aligned with a corked wine are:

  • Wet card board/newspaper
  • Wet dog
  • Dump basement/carpet

Some people are more sensitive to TCA than others and can detect the scents in lower thresholds.

TCA is also known to be a powerful suppressor of olfactory signals. In low levels it might not be strong enough to produce the descriptors above but instead, it can mute the freshness in the wine. If you don’t perceive the expected floral and fruity notes in a wine that is known to you, there is a chance that low TCA levels are impairing your experience. This compound was found to be over a thousand times more effective than other odor blockers used in making perfumes.

What can you do about it?

Unfortunately, there is not much we can do about it. Once TCA gets into the wine there is no way to neutralize it. Actually, if you aerate the wine in a decanter it will increase the effect of the compound.

If you really want to try and improve a corked wine, there are filtration systems you could experiment with at your own curiosity. One of them consists on passing the wine through a sponge of polyethylene. Technically, the TCA molecule has an affinity for the molecule of this plastic, attaching to each other during the filtering. I haven’t tried it yet as I generally don’t carry a block of polyethylene with in my pocket.

In most restaurants or wine stores, you still have the option of returning the bottle if you perceive the wine to be corked. You might be able to get your money back but, unfortunately, not the spoiled occasion.

My thoughts on corked wine

The growing adoption of screw caps and other synthetic materials to seal wine bottles have been reducing the risk of TCA in wine. The use of chlorine in wine producing facilities for cleaning purposes has also been avoided. Still, the risk always lingers… no matter how expensive your bottle.

It is really a bummer when you are saving that wine in a special night, only to find out at the first seconds of service that it’s tainted.

A good story to tell and a great bottle as a back up can do the trick on shifting gears on the discussion. I also found that people are genuinely curious to smell a corked wine and understand what it is like, given that it’s not that common.

Nevertheless, that also makes part of the experience of sharing a bottle of wine. Maybe not for the reasons you expected but, sometimes, a tainted bottle can create a better story than the wine it was holding.
Taking care of your wine storage

Wine storage

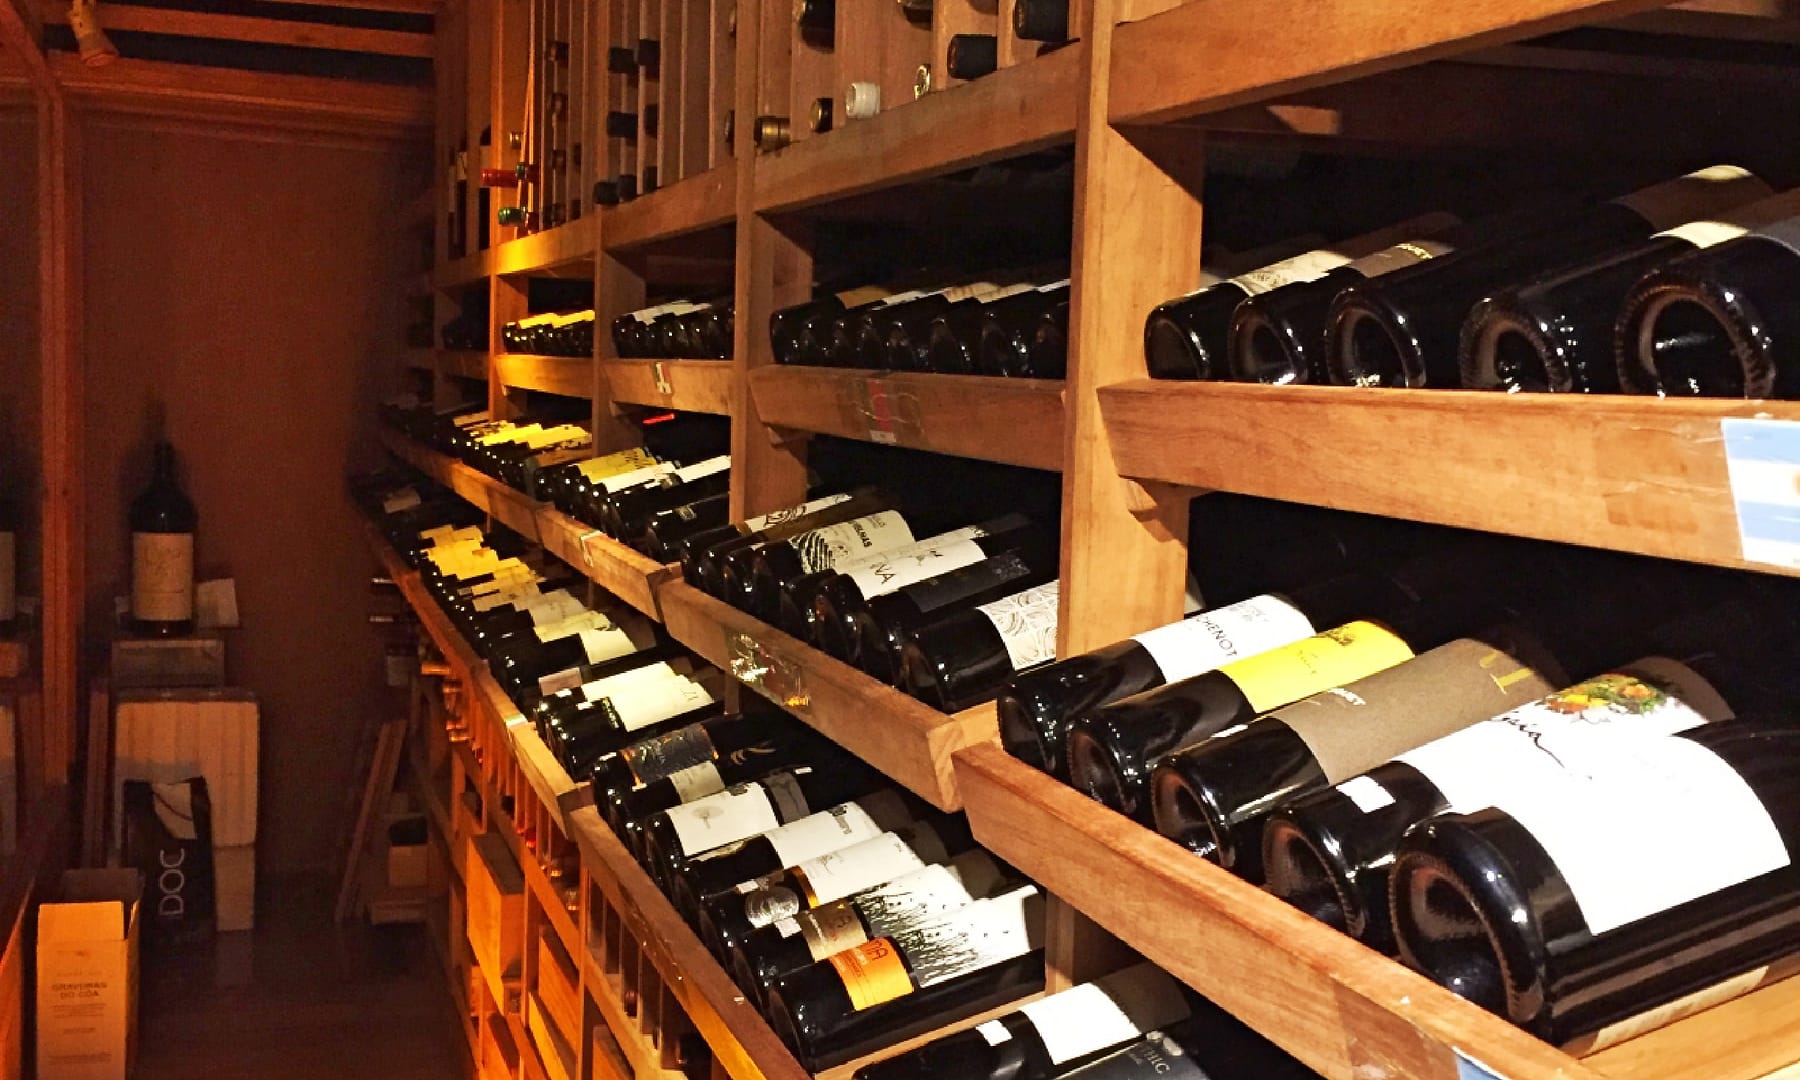
Your wine collection is getting bigger and wine storage is becoming an increasing concern.

Your fridge is full of sparkling wine, your charming little wine fridge it out of empty slots, the boxes start to pile up in the kitchen. It’s time to start looking for the next place in your house with the right conditions to accomodate the collection you so much care about.

We have previously discussed on why and when wine can benefit from bottle aging process. This time we are going to tap on how to find the most suitable place available in your house for that process to develop smoothly.

An anecdote on storing wine

Before bullet-pointing some guidelines on how to care for your wine storage, there is a short story on how to approach the process. It’s a simple yet quirky way to visualize what are you aiming for when setting up your cellar.

Imagine wine as a living being. It will age while having a proper sleep (or you can call it hibernation if you are talking about a Barolo or Saint-Estèphe, for example). What would be then the ideal conditions for a long and relaxing rest? Let’s start with lying down on a horizontal position. Light can be quite disruptive so we are also looking for a dark place. Temperature should be adequate; too warm or too cold can be bothering and we are looking for a nicely chilled environment. Also, imagine we’ll have only one blanket so if the temperature fluctuates a lot, it can be annoying to adapt to the changes. No strong smells and also no vibration, so that the dreams are not disrupted. Humidity in the air should also be at the right levels in order to keep the freshness of the environment under control.

This anecdote states the baseline of the conditions we are looking for when choosing a cradle for your aging worth bottles.

Checking the list

Bringing that story to an operational level: why and how to ensure that list of requirements is met?

1. Horizontal position

This is mainly to keep the wine in touch with the cork so that it remains wet. This will cause the cork to swollen and ensure the seal is kept tight, preventing the air to reach the wine inside the bottle.

2. Dark place

The bottle design itself already helps slowing down the aging. The frequent dark brown or green colour of the glass helps filtering the light, but it can’t do the whole job on its own. Light can damage the wine as UV interferes on the chemical reactions of the aging process. Also, choosing incandescent light bulbs over fluorescent ones is a better way to set up light for your wine storage, if needed. The latter should be avoided as it has a larger blue light spectrum, pouring more UV over the bottles.

3. Keeping it cool

We are looking here for the zone between 12C and 15C. If too cold, the wine won’t develop overtime and if too hot, that process will be too fast and can eventually damage the structure of the wine. It might result in some wines developing “cooked” flavours.

4. Avoiding Temperature swings

This is a bit hard to assess as it depends on how much the temperature changes and how fast the swing is. What we are trying to avoid is a sort of a “pumping” effect that can happen to the cork when the content of the bottle (wine + air) expands and shrinks with the temperature changes. This will cause the air to come inside the bottle and affect the aging.

5. Smells

Smells can attach to the cork and eventually the wine if the environment is saturated with strong odours for long periods of time. As a short term concern, the smell can also stick to the bottle and label which can be bothering as you bring the bottle to the table for service. Remember those hanging garlic bulbs on a cord or the cured salami hanging in the cellar? Yeap, not a good idea to have them close to your wine collection.

6. Vibration

There is a bit of debate on this one and some opinions might diverge. The idea is that vibration can impact the chemical reactions involved in the aging process and might speed them up. That acceleration can affect how the wine develops, as well as its structure. There is also the thought that vibration can disturb the sediments overtime not allowing them to sink, which makes them blend with the wine and turn it gritty. Having said that, be mindful if you have any equipment near your bottles that might produce vibration, such as a laundry machine or large engines. However, unless you leave under a train station or a football stadium, vibration might not be a concern to your collection.

7. Humidity

That’s a way to control the condition of the cork from the outside. The idea is to stay between 50% and 80% of relative humidity. If too dry it can impact the lifetime of the cork. If too humid, you can have mould developing on it (which is not a bad sign but could be avoided). Don’t forget that the conditions we are listing here are also a paradise for fungus (have you ever came across pictures of bottles in century old cellars in France…?).

My thoughts on wine storage

Looking at the conditions above, it’s more likely you will find most of them already in the basement of your house and you’ll need to adjust for the ones that need a little tweak.

If a basement is not available, any other vacant room or a closet could be a nice option for your growing collection. In that case, you can start with a piece of furniture (made of wood if possible) as a wardrobe or a door closing cabinet.

If you are willing to invest a bit more, you can also find specialized equipment that controls temperature and humidity of your cellar (if it’s a confined area).

The hardest factor to control for when talking about home-based cellars is the temperature swings, normally due to the change of seasons.

Leaving your more precious bottles or the ones that require longer aging closer to the floor of your cellar is a way to minimize that effect. The temperature fluctuations tend to be smaller there, especially if it’s a cement or stony floor.

Essentials on how to decant red wine

How to decant red wine

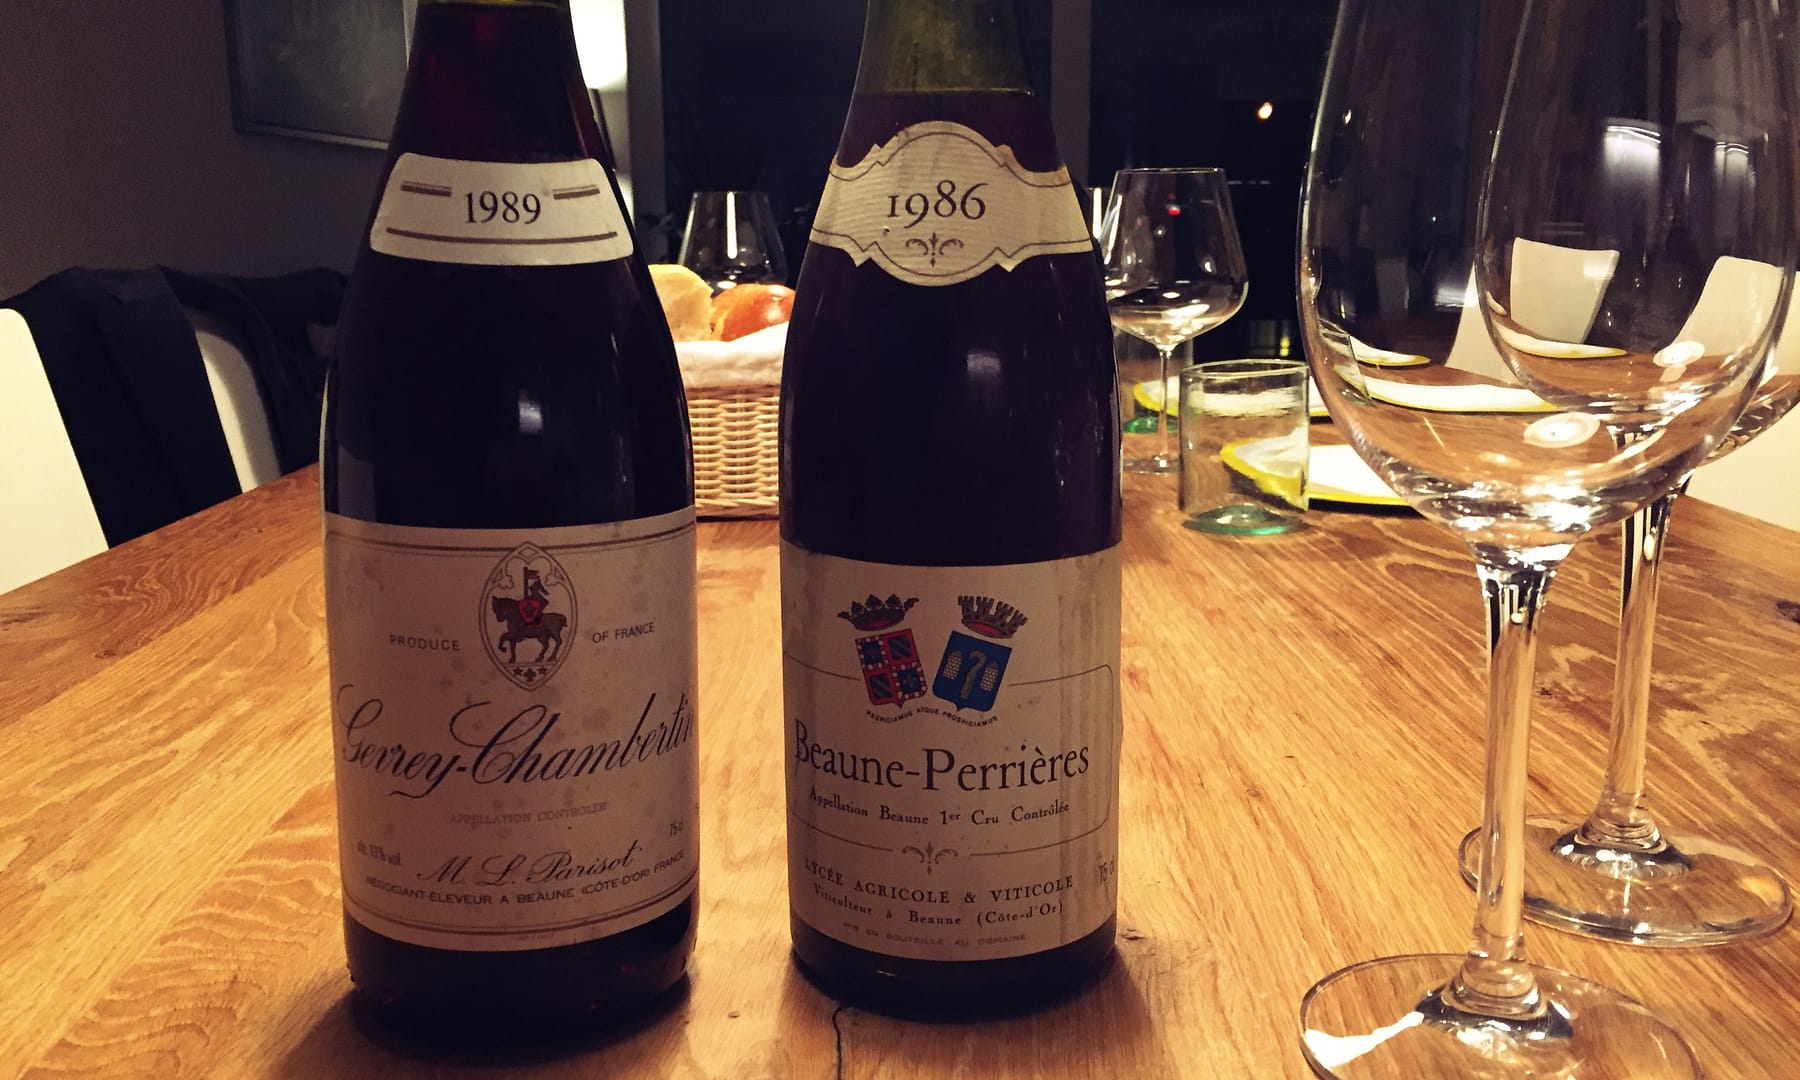
You have guests coming to your home later for dinner. The occasion to open that ten-year-old Pauillac you have been cellaring for a while has arrived. Together with the proper choice of glass and the right temperature of service, giving wine some breathing time can help it get to its best expression.

The wine might need a little wake up, after all that time in the bottle and a bit of a gentle filtering. Sediments might have deposited, which you might want to leave out of the glass not to impact the texture of the wine and the overall experience.

We have talked a bit on the essentials of why and when we need decanting and how it impacts the wine. The hands-on part comes now, as we look into how to decant red wine.

To kick off this talk, there is a question that often comes up when it comes to wine aeration…

What is the difference between Carafing and Decanting?

We won’t go into the nitty-gritty of this discussion in this post, but you might have heard both terms before apparently referring to the same thing. Well, technically, those are different procedures and with different purposes.

Carafing aims at aerating the wine, by exposing it to oxygen in a controlled fashion. While decanting also brings some aeration into the process, it aims at separating the sediments that might appear in wine overtime, especially in aged and more tannic ones.

In reality, however, the term decanting ends up being frequently used referring to general wine aeration procedures, having it a separation of sediments involved or not.

Shapes and sizes

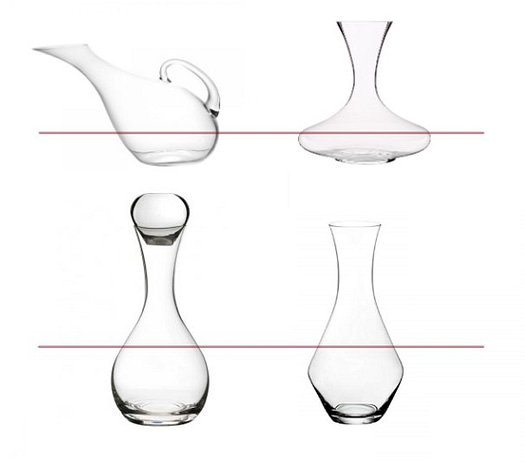
Carafes and decanters might differ from each other in their shape, given their different purposes. As a guideline, carafes tend to be especially larger at the base, enhancing the area of contact of the wine with the air, rending more efficient the aeration process. Decanters on the other hand tend to have a narrower body and neck, with a relatively reduced area of contact between the wine and the air. The first two recipients bellow could be referred to as carafes, while the ones in the second row follow what we have as the description of a decanter.

Difference between Decanter and Carafe

Today we find carafes and decanters in all sorts of shapes and sizes. They can get really artsy at times, boarder lining common sense. Some of these pieces make you wonder if they are as functional as a decanter as they are as a conversation starter in a dinning table.

Jokes a part, some modern designs do create a good effect while serving at the table while making the most effective approach to fluid dynamics.

We’ll focus on the classic decanting definition and its procedure, since it’s a more complete approach (incorporates the carafing steps in itself). We are also having red wines in mind, as they are generally more in need of air after bottle time, than whites.

The decanting process

A call out about storing conditions of the wine, right before you open it: If you have taken it from an horizontal position in your cellar, it’s a good idea to let it rest vertically for a day or two. This would give time for the sediments to sit at the bottom and facilitate the decanting procedure. If there is no time for that, any couple of hours would be already helpful. Last case scenario, if there is way too much sediment, you can use a special sieve on top of the decanter.

Using a good corkscrew, remove the cork without agitating the bottle too much, not to disturb eventual sediments. Pour a little dose and give it a try. Make a mental note on the intensity and complexity of the aromas you first get. If you feel they are quite silent and the wine is not speaking too much yet, let’s start the decanting process and see how it evolves.

With a dry and clean decanter at hand, gently pour the wine in a slow, steady and uninterrupted movement (again, avoiding  sediments to go back and ravel inside the bottle). Let it flow through the walls of the decanter. Towards the end, as soon as you notice that the sediments are about to pass through the neck of the bottle and into the decanter, you stop. You can use the help of a light source (generally a candle) behind the neck of the bottle to help seeing when sediments are about to pass.

For how long should you decant?

The right time to decant wine depends on a few factors which include style, region, age, storing conditions and of course, your own preference.As you see, there is a good component of subjectivity on when enough is enough.You can follow your own taste by tasting the wine from the decanter  every 20 minutes to evaluate its point. It’s a good exercise to see how the wine evolves and also to understand a bit more of your own taste.If you’d like a suggestion for a starting point, below are some rough guidelines:

To decant immediately before serving:

  • Bordeaux, Burgundy and Côtes du Rhône over 20 years old

To decant 1-2 hours before serving:

  • Bordeaux, Burgundy and Côtes du Rhône 5 to 20 years old
  • Zinfandel
  • Malbec (New World)
  • Pinot Noir (New World)
  • Cabernet and Shiraz (New World)

To decant up to four hours before serving:

  • Bordeaux, Burgundy and Cote du Rhône less than 5 years old
  • Modern Rioja, Ribera del Duero and Priorat
  • Dão, Douro and Alentejo
  • Barolo, Barbaresco and Brunello

My thoughts on decanting
If you have an event starting or a group coming for a tasting, the decanting should be planned ahead of time.

However, whenever there is an opportunity, I truly appreciate letting the wine aerate slowly in the glass, or letting it sit in the opened bottle (recorked) for a couple of days.

If the wine is too old, light in body or fragile because of a not so good vintage, the structure might not have held well over time. In this case,  decanting should be handled with care of even completely skipped as it might damage the wine. For example, for a 30 years old Burgundy, I would just pour into the glass and let it all happen there… inside the glass. Seeing the aromas and even the color change in the minutes that follow.That’s why I think the so called “super aeration” (e.g. putting your wine into a blender to, hypothetically, do a stronger& faster aeration) is an overkill and is aligns better with cocktail mixing than wine service.

Unless you are trying to fix something off in the wine, decanting should be gentle with the wine you are serving.

Service is an important part of wine appreciation and does impact your perception of the experience. It’s a delicate balance, as you try to highlight the nature of the wine and work of the producer, without getting in the way of the results.

Why should I let wine breath?

Why should I let wine breath

Why should I let wine breath, if it has been locked inside the bottle for a few years already? Whatever was inside it’s probably dead by now” – that’s how the conversation started at the table.

There are two procedures that would help your wine breath: decanting and aerating (also known as carafing or oxygenation). Aeration, as the name suggests, puts the wine in touch with the air (mainly oxygen), allowing a better expression of its aromatic components. Decanting, helps separating eventual sediments in the wine before serving, with some oxygenation coming along with it.

Why should I decant wine?

Certain wines, particularly the aged ones, naturally develop an amount of sediments overtime. These sediments impact the texture of the wine, which can be distracting and even unpleasant. Removing these sediments will take you to a better tasting experience.

What about aeration?

Every wine could benefit a bit from aeration. I would recommend aerating all wine, with a few exceptions and bit of care. As discussed in a previous post, a lot of details in the bottle and on the wine production methods are designed to slow down the aging process. One of them is to limit the contact with oxygen. Once the bottle is open and the wine gets in contact with an overwhelming amount oxygen, a series of chemical reactions are triggered. In older wines, for which the time has stopped for a while, this process happens much faster once the bottle is opened.

If done in the right measure, the aeration can:

  • Help soothing some of the aggressive tannins in young wines. Don’t expect miracles, but it can soften a bit the texture of wines where tannins are still super active.
  • Help brushing away off odours that occur in some wines, especially the ones with low content of sulfites. Unfortunately, if your wine is corked, aeration won’t help – actually it will make it worse.
  • Help bringing up the layers of aromas that might have been trapped in the wine. As the oxygen triggers some chemical reactions, it induces volatilization of some aromatic components.

Aeration is a process that needs to be handled gently and with care. If the process is too aggressive or takes longer than required, it might damage the wine. You don’t want oxygenation turning into oxidation. Often in old wines, it takes minutes for us to notice it changing aromas and even colour inside the glass.

What wines should I aerate?

Not all wines have sediments, which would require some decanting. Nevertheless, most of the wines would benefit from some aeration. There is a component of personal preference to it. Experiment and have fun in the process. Despite this grey zone in the discussion about what wines should be aerated, much lead by personal preferences, there are some general guidelines worth mentioning.

Aerating Red Wines

To simplify, if we think about how much aeration a given varietal needs, based on its age, we could probably draw something like a bell curve.

Young wines need little aeration since they are still young and little stimulation is needed to have the aromas coming out. Aeration in young wines tends to help most on (slightly) soothing the more aggressive tannins. Again, it won’t do miracles but you should see a difference if you let a young Shiraz or Cabernet Sauvignon rest for an hour or so.

Mid aged wines are the ones that would benefit the most when it comes to bringing up dormant flavours. The time in the bottle can mask the aromas, especially some of the tertiary ones that you have been patiently waiting for.

Old wines need decanting because of possible sediment, but little aeration. We need extra care with them, as the wine structure might have become fragile over the years. In this case it is suggested to have the wine decanted just before serving.

Aerating White Wines

In general, white wines won’t benefit as much from aeration as the average red wine. Those that could possibly get a boost are the ones that got some aging (e.g. German Riesling) or heavier bodied ones that had some time in Oak (e.g. Californian Chardonnay) or that have a more complex aromatic structure you would like to bring up (e.g. Alsatian Gewürztraminer). If aerating, I would suggest to chill down the decanter, to a temperature that is 1-2 degrees lower than the one of the bottle, so that you don’t warm up the wine in the process.

Aerating Sparkling Wines

I am not a fan of oxygenating sparkling wines. It depends on the wine, and I believe those should be treated case by case. However, if you DO happen to have a nice vintage champagne, decanting can add an interesting edge to your experience (together with the use of a proper glass, please not a flute!). 

A key thing is to have the decanter chilled down before aerating (as mentioned above for whites). Keep it in the fridge for a while so that it gets cold and you don’t warm up the champagne during the process. The second thing to keep in mind is to work gently and continuously when pouring the champagne. Gently let the champagne flow through the walls of the decanter and avoid having the champagne hitting the bottom at once. This way you avoid breaking the bubbles and having the champagne losing perlage once served in the glass. Don’t let it sit for too long. Keep the decanter covered and let it rest for 5-10 minutes. That should wake the vintage up a bit without stressing it out. Allowing you to enjoy the depth that a more complex sparkling deserves.

My thoughts on aeration

Aeration should be a process to gently wake up the wine and help it to rise and shine in the glass. It might have been sleeping for a long time in bottle, let’s be careful with the old ones. The timing on the process requires a bit of experience, probing and sensibility. If oxygenation is too much for the wine, it will let some of the aromas fade, and we’ll end up missing some of the stories that the wine would like to tell us.

Open the bottle, pour a sip in your glass and taste it. If you can’t feel the main notes (fruity, earthy, herbal…), or if it’s young and too tannic or if you spotted some off odours, let it sit for a bit in the decanter. Wait, try it again. Repeat. The right point is the one that matches with your preferences, expectations or curiosity (ok, also patience).

Personally, I avoid using a decanter whenever I can. If the time is short and you have a table of guests waiting, there are not many ways to scape and a decanter will be a good friend supporting you. However, whenever possible, I just open the bottle, serve the wine in the glass and enjoy it as it opens, the aromas develop and get wider in the glass. While the oxygenation happens slowly in the bottle, once opened, it allows you to taste each stage of wine waking up.

Pretty much like having the wine catching up with time, but that’s a show that you get a first seat to watch, interacting with it right there, in your glass.

Santé!